Previously, Bit Bit recorded the vegetarian oden version, and now Bit Bit will record the oden version with yummy fishcakes and bonito flakes.
The oden took about 1.5 hours to prepare and cook.
Things that Bit Bit found out about Oden:
- Oden is a very delicious dish, and the dashi and condiments are very important to flavour all the food in the oden well.
- For the dashi, Bit Bit wanted to add both kombu (kelp) and katsuobushi (bonito flakes) right at the beginning, however since Bit Bit also had to prepare the vegetarian version, Bit Bit added the katsuobushi last, but it still tastes great and flavourful.
- From young, Bit Bit had always thought that chikuwa (fish surimi tube) is a local food product as it is commonly seen in yong tau foo, but after looking at the packaging which Pig bought from the wet market, Bit Bit realised that it had always been a japanese food product.
- Bit Bit likes to keep the leftover soup and add more ingredients in the next day, the soup will become more flavourful.
- Oden is low in calories and healthy, and also consists of both fibre and protein. Bit Bit loves it.
- In this dish, Bit Bit tries to replace as much of the ingredients that Bit Bit can find locally instead of buying the original japanese products.
- Bit Bit wanted to add a boiled egg in this dish, but forgot about the egg which was left aside.

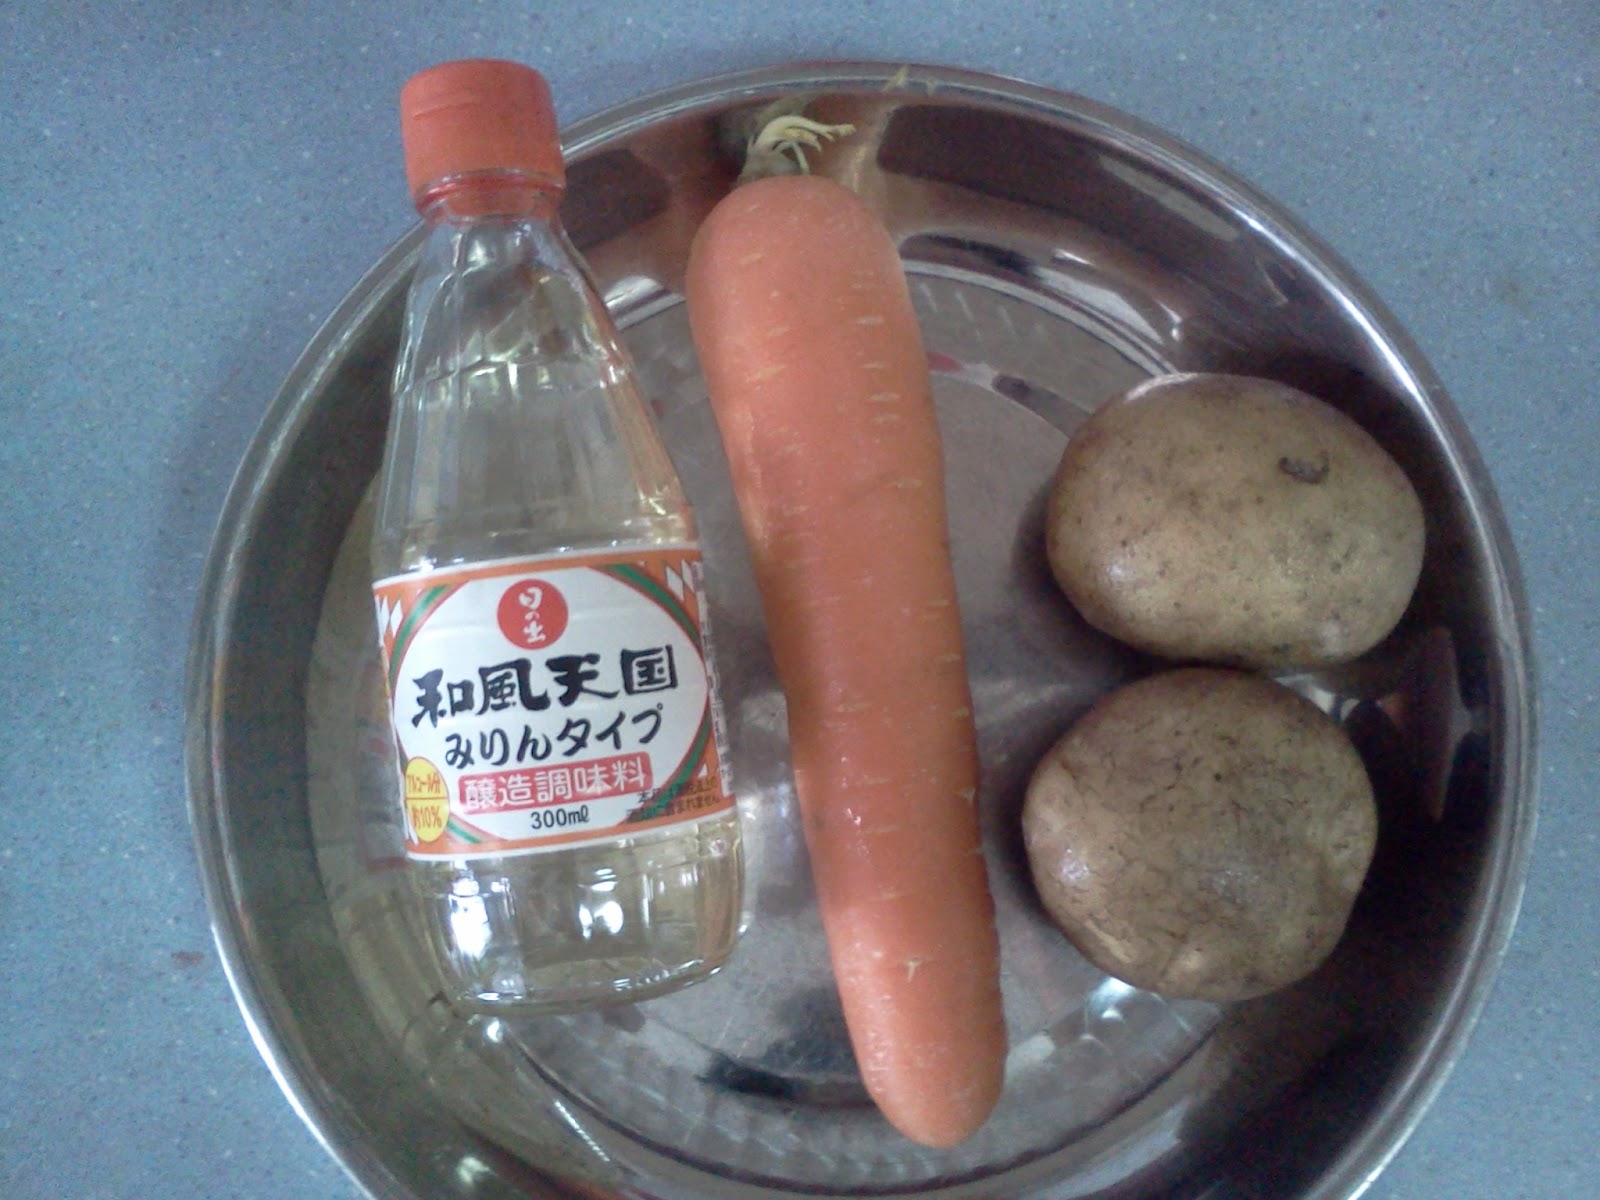
Ingredients that Bit Bit used for Oden:
- Kombu (Kelp) - 2 Rectangular Pieces (About 4 inches long when dried)
- Bonito Flakes - 1 Handful
- Water - About 700 to 800 ml
- White Radish - 1/2 Medium Whole
- Long Cabbage - 4 Leaves
- Tau Pok (Deep-fried Tofu Puff) - 3 Pieces
- Konnyaku (Yam Block) - 1/3 Block
- Round Fried Fish Cake - 1 Piece
- Chikuwa (Fish Surimi Tube) - 6 Pieces
- Mirin - 3 to 4 Tbsp
- Light Soy Sauce - 3 to 4 Tbsp


Method that Bit Bit used to cook Oden:
- Pour the water and add in the kombu into a big pot, and bring to a boil. Afterwhich, simmer the dashi for 30 to 45 minutes.
- Wash and remove the skin of the radish, and cut into 1 inch slices, and set aside.
- Wash and cut the konnyaku into triangular shapes, and set aside.
- Peel out the leaves of the cabbage one by one carefully, so as not to break them. Cut off most of the stem of the leaves.
- Wash the leaves, fold the sides of the leaf towards the centre and roll it up from the bottom to the top. Use a toothpick to prevent the cabbage roll from falling apart. Repeat for the remaining leaves. Set aside the cabbage rolls.
- Wash the stem of the leaves and cut them into small squares. These will be used to put into the tau pok bag.
- Cut the top of the tau pok to form an opening for stuffing. As the interior of the tau pok does not normally have a hole like the aburaage, cut the middle of the tau pok to form an opening carefully. Repeat for the rest of the tau pok.
- For the extra tops of the tau pok which were cut off, set them aside to be placed in the oden too.
- Once all the ingredients are prepared, bring a pot of water to boil.
- First, boil the radish slices for about 3 to 5 minutes.
- Remove the radish slices and add them into the dashi pot to let them simmer in the dashi.
- Second, boil the cabbage rolls for about 1 to 2 minutes. Remove from boiling water and set aside.
- Thirdly, boil the tau pok top and tau pok bag for about 3 to 4 minutes.
- Remove the tau pok from the boiling water, and use a wet towel to dry the tau pok lightly.
- For the tau pok top, set them aside. For the tau pok bag, open the bag and stuff in the cabbage stem dices. Use a toothpick to secure the opening of the bag, and set aside.
- Lastly, boil the konnyaku for about 10 minutes to remove the fishy smell. As the boiling water was already used to boil the tau pok previously, and will be slightly oily, wash the boiled konnyaku in running water, before placing them into the dashi pot.
- Cut the round fried fish cake into 4 pieces, and set aside.
- Now, the ingredients - radish, konnyaku, tau pok slices, tau pok bags, cabbage rolls, chikuwa and fried fish cake are all prepared.
- In the dashi pot that is still simmering, with radish and konnyaku in it, add mirin and light soy sauce, and mix well.
- Taste the soup, if the flavour is not enough, add more mirin or light soy sauce accordingly.
- Add in the cabbage rolls, tau pok slices, tau pok bags, chikuwa and fried fish cake.
- Sprinkle the bonito flakes over the ingredients.
- Cover the pot with a lid, and let it simmer for about 15 minutes. The longer you simmer, the tastier the oden, Bit Bit prepared the oden 3 hours in advance before dinner, and when it is dinner time, the oden tastes very yummy.
- Serve and eat!